Gathering Your Free Tools & Supplies to Clear Your Backyard Canvas
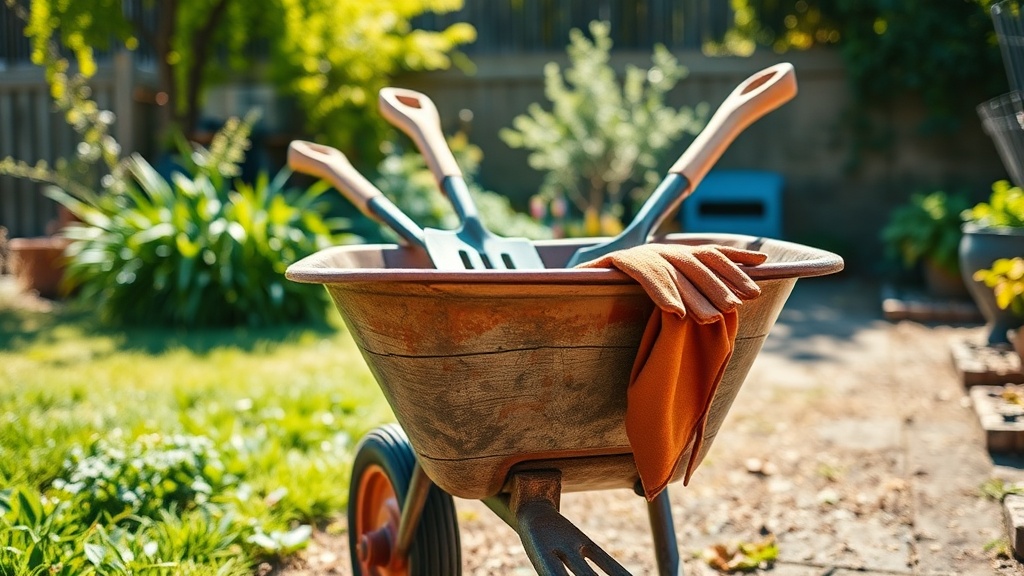
When I first decided to tackle my neglected backyard, I had a vision: a clean, open space, a true “clear canvas” just waiting for my dreams. But I also had a strict budget: zero. Yep, you read that right. I was determined to clean my backyard for free. And you know what? It’s absolutely possible! The first step, as with any great DIY project, is to gather your supplies, but we’re doing it the savvy, free way.
Borrowing & Bartering for Big-Ticket Items
I quickly realized that I didn’t own everything I needed, especially not for big jobs like moving heavy rocks or serious pruning. My secret weapon? My neighbors! I started by simply asking around. “Hey, do you happen to have a spare wheelbarrow I could borrow for an afternoon?” or “I’m clearing out my yard, got a sturdy rake I could use?” You’d be surprised how many people are happy to lend a hand, or a tool, especially if you offer to help them with something in return down the line. I even offered to share some of my homemade sourdough! It’s all about building community and utilizing shared resources.
DIY Solutions for Common Backyard Tools
For smaller items, I got creative. Need a strong bag for debris? I repurposed old, sturdy feed sacks from a local farm (they were happy to get rid of them!). For weeding, my hands were my best tools, but I also fashioned a small hand trowel from a flattened, sharpened piece of scrap metal I found in my garage. A sturdy branch became a great leverage tool for prying up stubborn roots. Don’t underestimate the power of improvisation! Your goal is to prepare a canvas, and sometimes that means thinking outside the toolbox.
What You’ll Need

- Sturdy gloves
- Rake (borrowed or DIY)
- Shovel or spade (borrowed or DIY)
- Wheelbarrow or sturdy buckets/sacks (borrowed or repurposed)
- Hand pruners or loppers (borrowed or basic household shears)
- Gardening fork or hoe (borrowed or DIY)
- Newspaper or cardboard
- White vinegar
- Salt
- Dish soap
- Empty spray bottle
- Compost bin or pile (DIY)
Assessing Your Landscape: Preparing a Canvas for Free
With my motley crew of borrowed and DIY tools assembled, it was time for the next crucial step: understanding my “canvas.” Before any raking or digging began, I spent a good hour just observing my backyard. This mental mapping is key to preparing a canvas efficiently and effectively.
Identifying Problem Areas and Opportunities
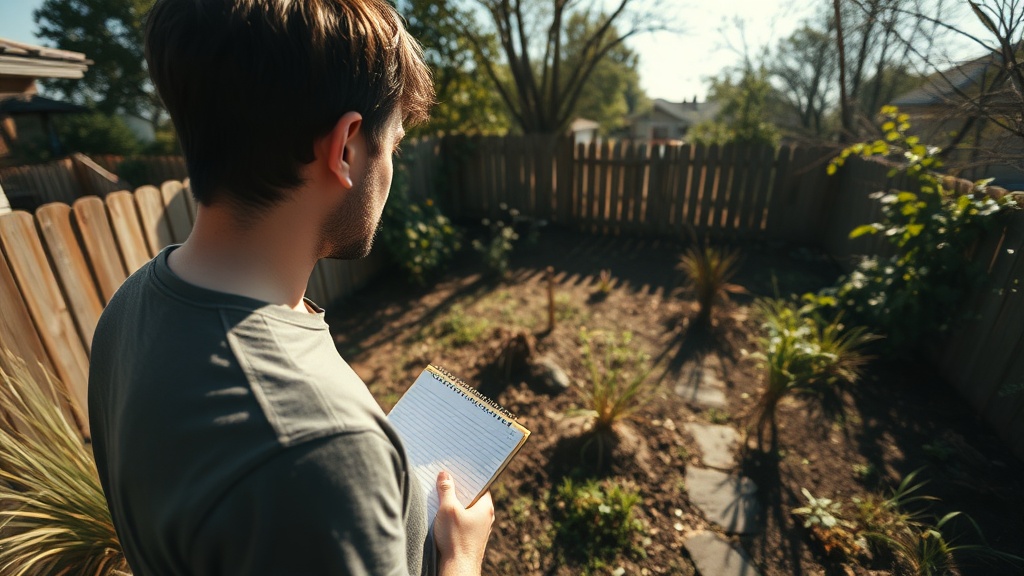
I walked every inch of my yard. I noticed the dense thicket of weeds near the fence, the overgrown shrubs blocking the light, the patchy areas where grass refused to grow, and the surprisingly fertile spot under the old oak tree. I looked for areas where water pooled, spots that were perpetually shady, and places where the existing plants were clearly thriving or struggling. This initial assessment helped me understand the challenges and identify existing resources I could leverage, rather than fight against.
Drawing Your Vision for a Clean Backyard
After my walk-through, I grabbed a pen and paper. This isn’t about becoming a landscape architect; it’s about visualizing your clean backyard. I sketched out a rough bird’s-eye view of my yard, marking the problem spots and areas of opportunity. “This corner needs serious weeding,” I’d write. “This section could be a new flower bed,” or “Move these rocks to outline a path.” It was my blueprint for a “clear canvas gmbh” transformation, but done my way, for free. This visual plan gave me a roadmap and helped me prioritize what to tackle first, moving from the biggest obstacles to the finer details.
Manual Debris Removal: How to Clean Your Backyard for Free
Now that I had my tools and my plan, it was time to get physical. The first major step in creating a clean backyard for free is to simply remove all the unwanted junk and organic debris that’s accumulated over time. This stage makes an immediate and visible impact, and it’s incredibly satisfying.
Raking Up Leaves and Twigs Without a Blower
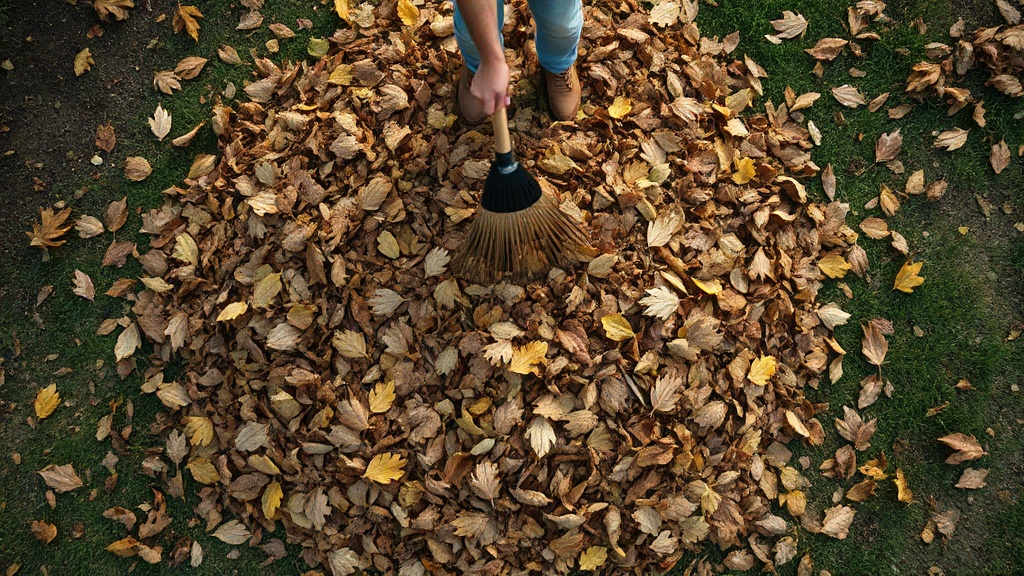
I started with the easiest part: sweeping away the past. Instead of an expensive leaf blower, I relied on my trusty borrowed rake and pure elbow grease. I raked all the fallen leaves, small twigs, and any other light debris into piles. It felt like a meditation, moving back and forth, clearing away layer after layer. I found that working in sections made it feel less overwhelming. I piled everything onto an old tarp I had lying around – another repurposed item – making it easy to drag to my designated composting area. This truly began to reveal the ground beneath, preparing my canvas for the next steps.
Collecting Rocks and Other Unwanted Guests
Once the leaves were gone, the ground showed its true character, revealing a surprising number of rocks, old broken pot pieces, and even some stray toys. I systematically went through the cleared areas, picking up anything that didn’t belong. For larger rocks, I used my DIY leverage stick or simply rolled them with my hands (wearing sturdy gloves, of course!). I created separate piles: one for rocks I might reuse for edging or a rock garden, and another for true junk that needed to be properly disposed of later. Seeing the bare earth emerge from beneath the clutter was incredibly motivating; it felt like I was literally clearing the canvas.
Winning the Weed War: Eradicating Unwanted Growth on Your Clear Canvas
With the loose debris and unwanted guests removed, my backyard canvas was starting to show its potential, but the weeds were still a major challenge. This stage is where you really start to reclaim your space, setting the foundation for a truly clean backyard.
Hand-Pulling and Mulching for Natural Weed Control
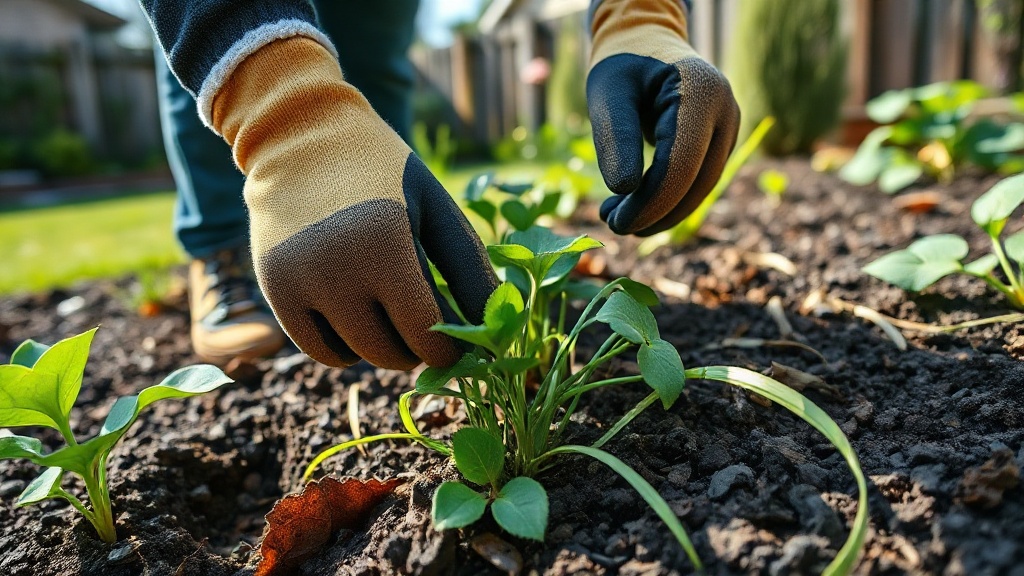
I spent a considerable amount of time on my hands and knees, pulling out weeds. It’s a labor of love, I tell you! I found that the best time to do this is after a rain, when the soil is soft and the roots come out more easily. I made sure to grab the weeds as close to the base as possible to get the entire root system. For stubborn areas, I used my small DIY trowel or a gardening fork to loosen the soil first. After pulling, I immediately covered the exposed soil with layers of newspaper or cardboard, topped with some of the leaves and small twigs I raked earlier. This free “mulch” suppresses new weeds and helps retain soil moisture, saving me work in the future.
Using Household Items for Eco-Friendly Weed Killers
For particularly persistent weeds that I couldn’t easily hand-pull, especially those growing between pavers or in cracks, I turned to a simple, effective, and free household concoction. I mixed a gallon of white vinegar with a cup of salt and a tablespoon of dish soap in an old spray bottle. The soap helps the mixture stick to the leaves. I sprayed this directly onto the weeds on a sunny day, making sure to avoid any plants I wanted to keep, as it’s non-selective. Within hours, I saw them starting to wilt. This method is incredibly satisfying for targeting specific problem areas without resorting to expensive, chemical solutions, helping me maintain my clean backyard for free.
Smart Pruning & Trimming: Shaping Your Backyard Without Professional Help
My backyard was now largely clear of debris and weeds, resembling a truly blank slate. The next step in preparing a canvas for my vision was to address the existing shrubs and small trees, giving them shape and opening up the space. This is where I became my own arborist, all without spending a dime.
Basic Cuts for Overgrown Shrubs and Small Trees
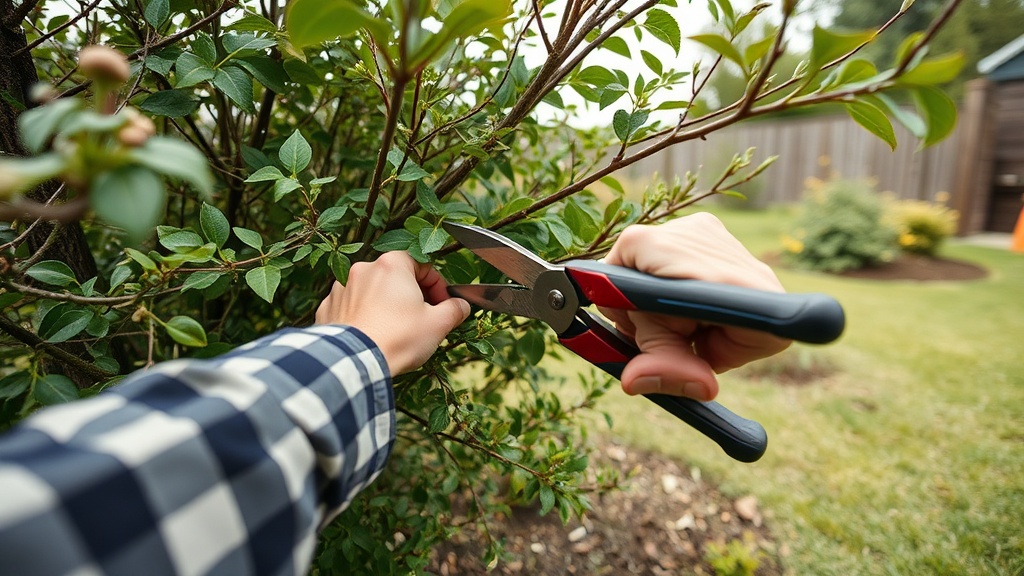
I looked at my overgrown bushes and saw potential. Using my borrowed hand pruners and loppers, I focused on removing dead, diseased, or crossing branches first. This not only makes the plant healthier but also opens it up to more light and air. For shaping, I took a step back often to assess my work, making small cuts rather than large, irreversible ones. My goal wasn’t perfection, but rather to create a more defined and aesthetically pleasing outline. I found that visualizing the desired final shape before making the first cut helped immensely. At this point, your shrubs and small trees should look much more intentional and less wild, truly contributing to the “clear canvas” feel.
Utilizing Trimmed Branches for Free Mulch
As I pruned, I made sure not to let any of those trimmed branches go to waste. Smaller, pliable twigs and leaves were immediately added to my compost pile. For the slightly larger branches, anything I could snap or easily break, I chopped them into smaller pieces with my loppers or even stomped on them (again, with sturdy shoes!). These broken-down pieces became another layer of free mulch for my garden beds. This practice not only saved me money on buying mulch but also reduced the amount of waste I had to dispose of, making my clean backyard for free project even more sustainable. It’s amazing how much useful material you can generate just by tending to what you already have!
Simple Soil Prep: Setting the Foundation for Your Free Backyard Canvas
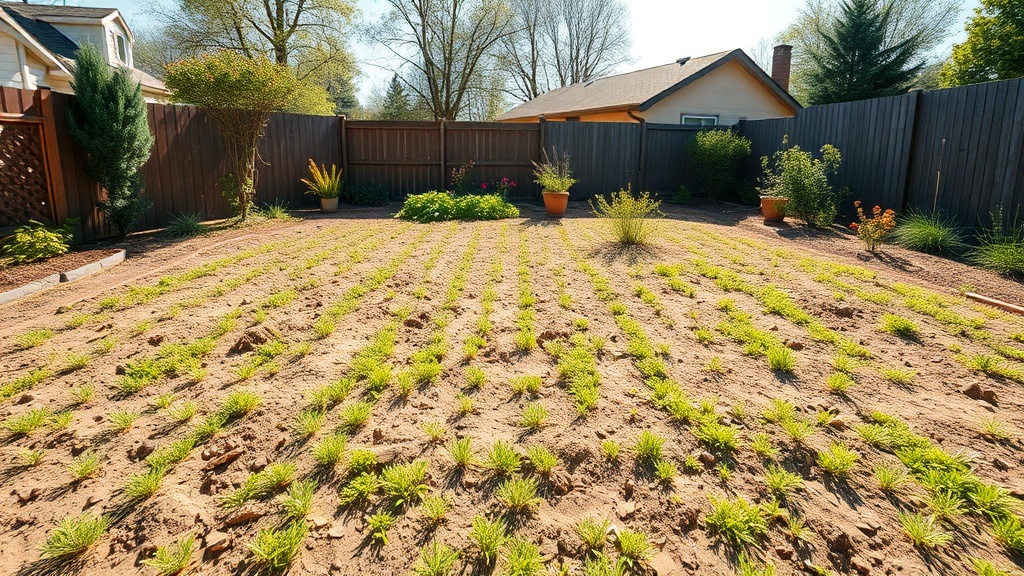
With the debris cleared, weeds vanquished, and plants neatly trimmed, my backyard was truly starting to look like a clear canvas. But a beautiful painting needs a good foundation, and in gardening, that means healthy soil. I knew I couldn’t skip this step, even on a free budget.
Turning and Aerating Soil by Hand
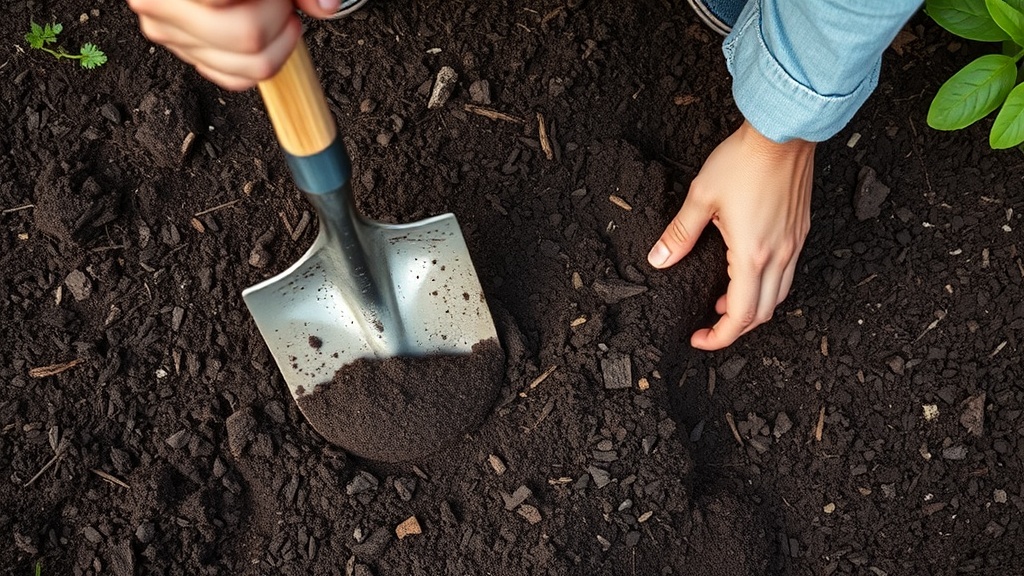
After all the heavy lifting, I focused on the soil itself, especially in areas where I planned to plant or where the ground felt compacted. I used my borrowed shovel and gardening fork to carefully turn over the top 6-12 inches of soil. This process, called aeration, helps loosen compacted earth, allowing water, air, and nutrients to penetrate more easily. As I turned the soil, I broke up any large clumps and removed any remaining small rocks or root fragments I found. It’s hard work, but I could feel the difference in the soil’s texture almost immediately – it became lighter and more workable. At this point, your soil should look loose and ready for new life.
Enriching Soil with Composted Kitchen Scraps
To give my soil a free nutrient boost, I relied entirely on my DIY compost pile. Throughout this entire backyard project, I had been diligently collecting kitchen scraps – fruit and vegetable peels, coffee grounds, eggshells – along with the raked leaves and trimmed twigs. I carefully mixed this “black gold” into the newly turned soil. Composting is one of the easiest and most effective ways to enrich your soil for free, improving its structure and fertility without buying a single bag of fertilizer. I learned that healthy soil is the secret ingredient to a thriving garden, and it’s a completely free resource if you make it yourself. This simple soil prep ensured my clean backyard for free would have a strong start for whatever I decided to plant next.
Avoiding Common Mistakes When You Clean Your Backyard for Free
I’ve learned a lot through trial and error, and sometimes it’s the mistakes that teach you the most. When you’re working on a project like cleaning your backyard for free, it’s easy to get overwhelmed or make choices that could lead to more work later. Here are a couple of key lessons I picked up that I want to share with you for your own clear canvas transformation in 2026 and beyond.
Don’t Rush the Process
My biggest mistake initially was trying to do everything at once. I’d start raking, then get distracted by a patch of weeds, then see a branch that needed pruning. This scattered approach led to burnout and a feeling of not making progress. I found that breaking the project into manageable steps, just like we’ve gone through, was crucial. Focus on one task, complete it for a defined area, and then move on. It’s better to spend an hour focused on just raking one day, and an hour on weeding the next, than to jump between tasks without finishing any. Remember, creating a “clear canvas gmbh” level of perfection takes time, especially when you’re relying on your own two hands.
Prioritizing Tasks for Maximum Impact
Another pitfall I encountered was not knowing where to start. My backyard was so overgrown that it felt like an impossible mountain. I learned that prioritizing tasks by their immediate visual impact and their foundational importance was key. First, get rid of the major junk and debris – that’s your biggest visible win. Then tackle the weeds, as they compete with anything you might want to plant. Finally, shape your existing plants and improve your soil. This logical progression builds momentum and ensures that each effort you make contributes to a significant, lasting improvement. You’ll notice your space transforming step-by-step, making the entire process more enjoyable and less daunting.
Your Transformed Backyard Canvas: Enjoying Your Hard-Earned Free Space
After all the planning, the sweating, the bending, and the lifting, there comes the most rewarding part: admiring your handiwork. My clean backyard for free wasn’t just a cleared space; it was a testament to what I could achieve with determination and resourcefulness. It became my personal “clear canvas,” waiting for its next chapter.
Admiring Your Freshly Prepared Area
Take a moment, or an entire afternoon, to simply sit back and enjoy the fruits of your labor. I remember looking out at my newly tidied yard, the ground clear, the bushes neat, the soil ready. The sense of accomplishment was immense. It wasn’t just about the physical transformation; it was about reclaiming my space, feeling connected to the earth, and proving to myself that I could create something beautiful without spending a fortune. Your backyard, now clean and organized, will feel larger, lighter, and full of potential. At this point, your yard should truly resemble a pristine, ready-to-be-designed canvas.
Planning Your Next Steps for a Beautiful Backyard
With your canvas cleared, the possibilities are endless. This isn’t the end of the project, but the exciting beginning! Now that you have a clean backyard, you can start dreaming about what to add: a small vegetable patch, a cozy seating area, a vibrant flower bed, or even just a lush, green lawn. The beauty of doing the prep work for free is that you’ve saved money to potentially invest in those future additions, or simply to enjoy the open space as it is. What will your clear canvas inspire you to create next in your beautiful, free backyard?
Frequently Asked Questions
How long does it take to clear a backyard for free?
The time it takes to clear your backyard depends heavily on its current state and size. For a moderately overgrown yard, I found that dedicating a few hours each weekend for 2-4 weeks was effective. Breaking it down into manageable tasks helps prevent burnout and allows you to make consistent progress.
Can I really get rid of all weeds without chemicals or special tools?
Absolutely! Hand-pulling, especially after rain, is incredibly effective for removing weeds from the root. For stubborn spots, a simple solution of white vinegar, salt, and dish soap can act as an eco-friendly herbicide. Consistent effort and mulching are your best friends in the weed war.
What’s the best way to dispose of all the yard waste without paying?
Composting is your top free solution! Fallen leaves, small twigs, and kitchen scraps can all be turned into rich soil amendments. For larger branches, check if your local municipality offers free yard waste drop-off or pickup days. Neighbors with wood chippers might also be willing to help for free or a small favor.
Is borrowing tools from neighbors safe and efficient?
Yes, it’s a fantastic and friendly way to save money! Always be respectful of their property, return tools promptly and clean, and offer to help them in return. Establishing good neighborly relations can be a huge asset for future DIY projects, creating a win-win situation.
How can I ensure my backyard stays clean after all this hard work?
Maintenance is key! Regular, small efforts go a long way. Continue to mulch garden beds, pull weeds as soon as you see them, and keep your compost pile active. Establishing a consistent routine, even just 15-30 minutes once a week, will prevent your clear canvas from becoming overgrown again.
Can I really prepare a canvas for a beautiful garden without buying anything in 2026?
Absolutely! As I’ve shown, with resourcefulness, a little elbow grease, and smart utilization of existing resources (or borrowed ones), you can achieve a beautifully prepped backyard. The key is in seeing opportunities in what you already have and getting creative with DIY solutions. It’s a truly sustainable approach to home improvement.


