My oven racks were a sight for sore eyes. Years of baked-on grease and food splatters had turned them into a sticky, dark mess, making my entire oven look grimy even after a self-clean cycle. I’d seen the viral videos, read the blog posts, and heard the whispers: people were cleaning their oven racks in their bathtubs! Intrigued (and a little skeptical), I decided it was time to put this infamous hack to the test myself. Could my tub really transform my oven racks from tragic to sparkling? I rolled up my sleeves, armed myself with cleaning supplies, and dove right in. Here’s my honest review and step-by-step guide for tackling this ultimate oven rack cleaning challenge.
Gathering Your Arsenal: What You Need for the Bathtub Oven Rack Clean
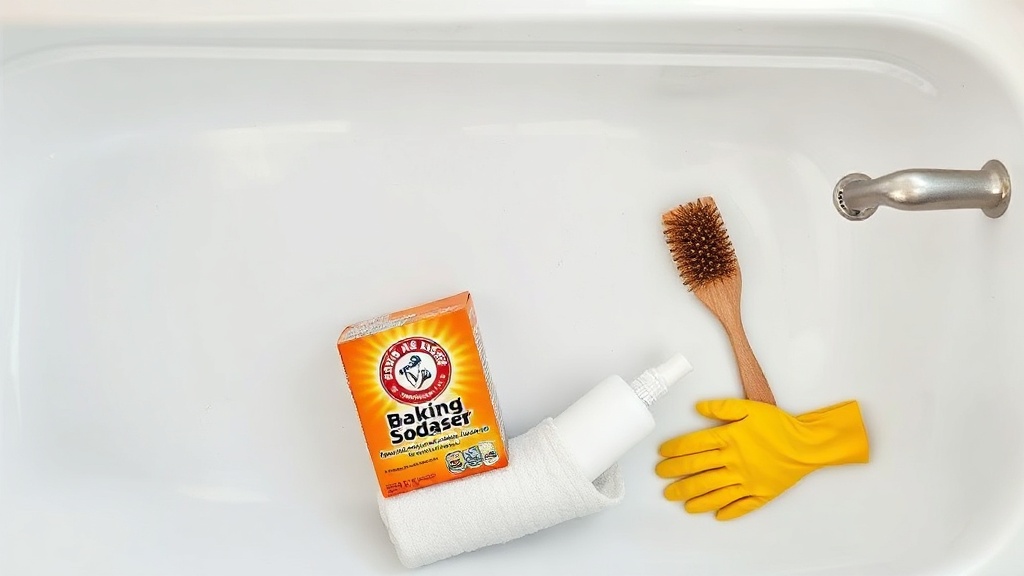
Before you even think about laying those greasy racks in your pristine tub, you need to gather your supplies. Trust me, I learned that being prepared makes all the difference for a smooth, effective clean. Here’s exactly what I used to tackle the built-up grime:
- Heavy-duty degreaser or dish soap
- Baking soda
- White vinegar
- Old towels or a protective mat
- Non-abrasive scrub brush or sponge
- Rubber gloves
Heavy-duty degreaser or dish soap
I found that a good quality, grease-cutting dish soap like Dawn worked wonders, but if your racks are extra stubborn, a dedicated heavy-duty degreaser will give you an extra boost. The goal is to start breaking down that tough, caked-on grease even before the soak.
Baking soda and vinegar
This dynamic duo isn’t just for volcano experiments! Baking soda and vinegar are natural cleaning powerhouses. The baking soda acts as a mild abrasive and odor absorber, while the vinegar’s acidity helps dissolve mineral deposits and cut through grease. I used them for the soak and the final scrub.
Old towels or a protective mat
This is crucial! You absolutely need to protect your bathtub from scratches and stains. I used several old towels, but a dedicated rubber mat or even a thick sheet of cardboard would also work.
Non-abrasive scrub brush or sponge
You’ll be doing some scrubbing, so choose a tool that won’t scratch your racks or your tub. A non-abrasive scrub brush or a heavy-duty sponge with a scrubby side is perfect.
Rubber gloves
Protect your hands! You’ll be dealing with hot water, strong cleaning solutions, and a lot of grime. Rubber gloves are a non-negotiable item for this project.
Prepping Your Bathtub for the Oven Rack Cleaning Hack
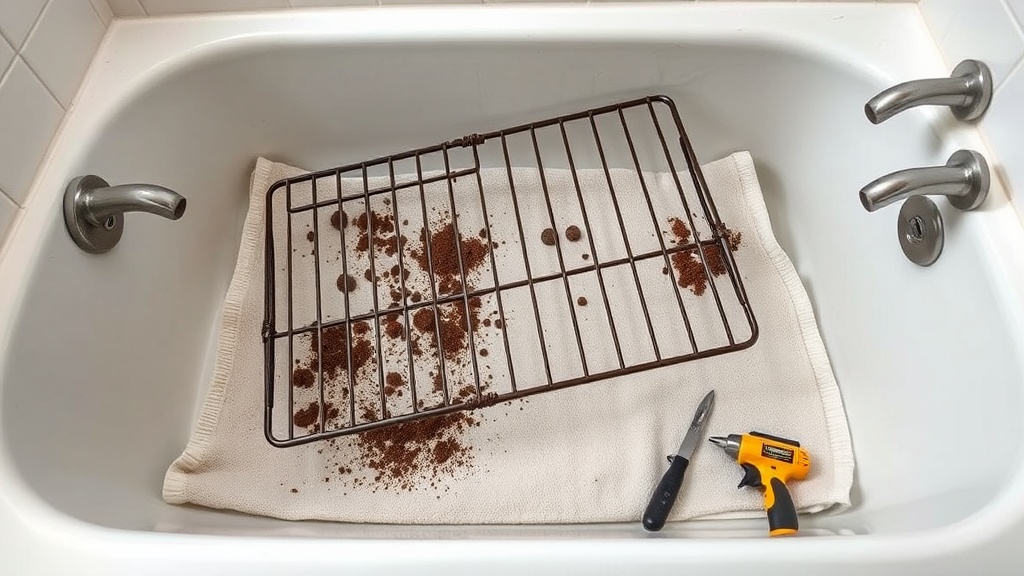
Now that I had all my supplies, the very first step in this adventure was to get my bathtub ready. This isn’t just about protecting your tub; it’s about making the cleanup easier later. I started by giving my tub a quick rinse to ensure it was clean before the dirty racks came near it.
Protecting your tub from scratches and stains
I laid down a generous layer of old towels across the bottom of my bathtub. I made sure they covered the entire surface where the racks would sit and even went up the sides a bit. This creates a soft barrier, preventing the metal racks from scratching the porcelain or acrylic finish of the tub. It also helps absorb any potential staining from the dissolved grease. I always say, prevention is easier than cure, especially when it comes to tub scratches!
Carefully placing the oven racks
With the tub protected, I then carefully placed each oven rack into the bathtub. I made sure not to just drop them in, but gently laid them down on the towels. Depending on the size of your tub and racks, you might need to stack them or arrange them in a way that allows for maximum submersion. For my standard-sized tub, I could fit both large racks from my oven by overlapping them slightly. The key here is gentle placement to avoid any accidental scrapes or dings to your tub’s surface.
[IMAGEPROMPTSTART]
Photorealistic DSLR photo showing: An empty white bathtub with several old, dark towels laid out neatly on the bottom, covering the surface. Two dirty, greasy metal oven racks are carefully placed on top of the towels in the tub, one slightly overlapping the other. Natural window light, no people, no text overlays.
[IMAGEPROMPTEND]
Soaking the Grime Away: The Key to Successful Oven Rack Cleaning in Bathtub
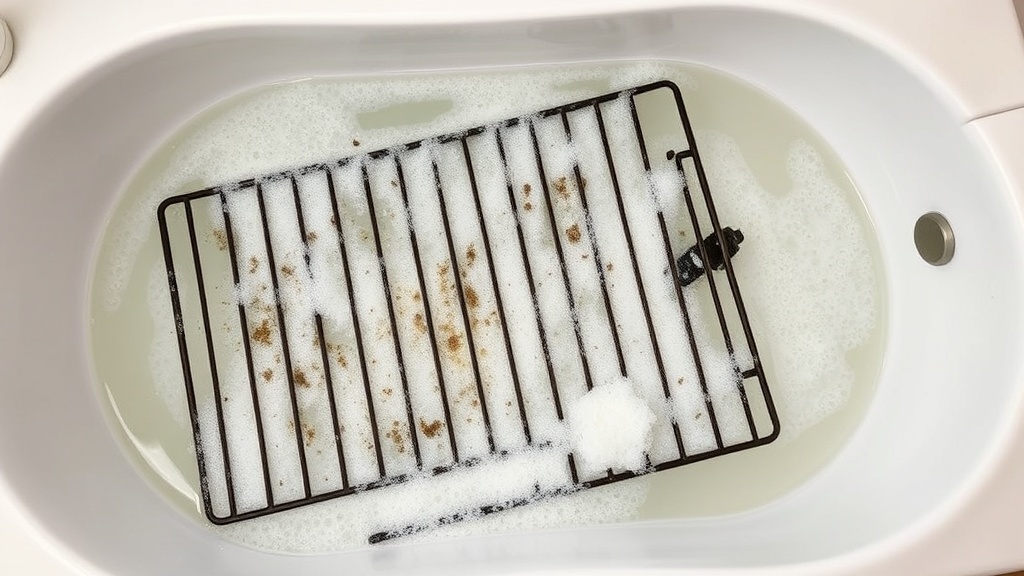
Once my racks were safely nestled on their protective towel bed, it was time for the main event: the soak! This is where the magic truly happens, as the soaking solution does most of the heavy lifting to loosen all that stubborn baked-on gunk that has accumulated over who knows how long.
Choosing your ideal soaking solution for tough grease
I experimented a bit, and for really tough grease, I found a multi-pronged approach worked best. First, I sprinkled a generous amount of baking soda over all the racks, ensuring a good coating. Then, I squirted a good amount of heavy-duty degreaser or dish soap directly onto the racks. The soap helps to emulsify the grease, making it easier for the other agents to penetrate. Some people swear by dryer sheets, but I stuck to what I knew would work chemically.
Submerging and letting the racks sit
After applying the initial cleaners, I slowly filled the tub with the hottest water possible from my tap. I made sure to completely submerge all the oven racks, ensuring the water covered every inch. Once the racks were submerged, I added a cup or two of white vinegar to the water. The combination of hot water, degreaser, baking soda, and vinegar creates a powerful solution that actively works to break down the carbonized grease. I let my racks soak for a minimum of 4-6 hours, but for heavily soiled racks, I’d recommend an overnight soak. The longer they sit, the less scrubbing you’ll have to do later!
[IMAGEPROMPTSTART]
Photorealistic DSLR photo showing: A bathtub filled with hot, slightly cloudy water. Two oven racks are fully submerged in the water, sitting on towels at the bottom. The water shows a slight foam from dish soap and some baking soda residue. Steam rises gently from the hot water. Natural window light, no people, no text overlays.
[IMAGEPROMPTEND]
Scrubbing & Rinsing: Finishing Your Oven Rack Transformation
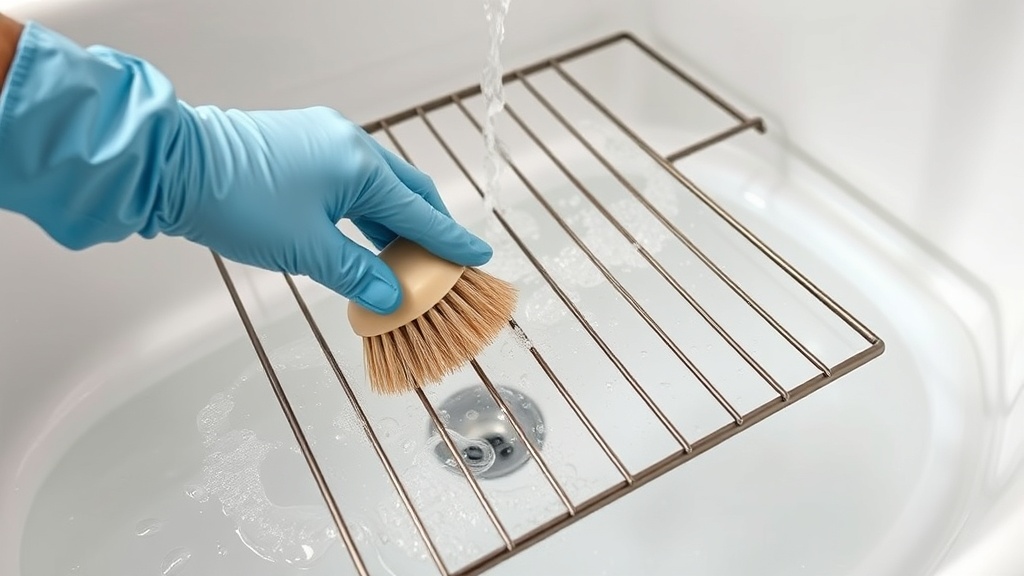
After a good, long soak (mine was about 8 hours!), I could already see a huge difference. The water was murky, and chunks of grime were floating freely – a sign the solution had done its job! Now it was time to put in a little elbow grease to finish the job and reveal truly clean oven racks.
Tackling stubborn spots and baked-on residue
Donning my rubber gloves, I drained the dirty water from the tub. You’ll notice much of the grime has already loosened or fallen off. For the remaining stubborn spots and baked-on residue, I used my non-abrasive scrub brush and a little more baking soda, mixed with a splash of water to form a paste. I scrubbed each rack thoroughly, focusing on the corners and edges where grease tends to accumulate most. I was genuinely surprised at how easily the remaining grime came off with minimal effort, thanks to the soak. For truly stubborn bits, a plastic scraper can help, but avoid anything metal that might scratch.
Final rinse and drying techniques
Once I was satisfied with the scrubbing, I gave each oven rack a thorough rinse under clean running water, making sure to wash away all traces of cleaning solution and loosened grime. I held them up to the light to inspect them, and they were gleaming! To dry them, I first wiped them down with a clean, dry towel to remove most of the surface water. Then, I placed them upright in my dish drying rack, or you can even put them back into a warm, recently turned-off oven for a few minutes to ensure they are completely dry before storage or use. This prevents any potential rusting, which is important for longevity.
[IMAGEPROMPTSTART]
Photorealistic DSLR photo showing: A hand wearing a yellow rubber glove holding a non-abrasive scrub brush, actively scrubbing a shiny, clean metal oven rack under running water in a bathtub. The water is clear, and the rack is free of grime. The tub is also clean. Natural window light, no people, no text overlays.
[IMAGEPROMPT_END]
Oven Cleaning Tricks That Work (and Mistakes to Avoid) Beyond the Bathtub
While the bathtub method worked wonders for my oven racks, it’s not the only trick in my arsenal for keeping my oven sparkling. Plus, I learned a few things about what NOT to do when using the tub method.
Alternative methods for oven rack cleaning
If you don’t have a bathtub, or just prefer a different approach, I’ve got you covered. One popular method is using a heavy-duty garbage bag. Place the racks inside with some ammonia (about half a cup, but be very cautious and do this outdoors or in a well-ventilated garage!). Seal the bag tightly and let it sit overnight. The fumes work to loosen the grime. Another method involves making a thick paste of baking soda and water, spreading it over the racks, letting it sit for several hours, and then scrubbing. You can also use commercial oven rack cleaners, though I always prefer less harsh chemical options when possible.
Common pitfalls when cleaning oven racks in bathtub
Through my experience and talking to others, I’ve identified a few key mistakes to avoid. Firstly, don’t skip the tub protection! Seriously, those metal racks can easily scratch porcelain or acrylic, leading to costly repairs. Secondly, ensure adequate ventilation, especially if you’re using strong degreasers, as the fumes can be overwhelming in a small bathroom. Thirdly, don’t use abrasive scrubbers like steel wool, as they can scratch the chrome finish on your racks, leading to rust. Finally, make sure your racks are completely dry before putting them back in the oven or storing them to prevent rust. A quick towel dry followed by air drying or a few minutes in a warm oven does the trick.
Does Cleaning Oven Racks in Bathtub Truly Work? Our Final Verdict
So, after all that soaking, scrubbing, and rinsing, what’s my final take on the viral oven rack cleaning hack in the bathtub? I can definitively say, yes, it absolutely works! My oven racks went from being incredibly disgusting and seemingly beyond repair to sparkling clean, almost like new. I was genuinely impressed with the results.
The key, I found, is patience with the soaking time and ensuring you use the right combination of cleaners. The hot water and cleaning agents do an incredible job of breaking down even years of baked-on grease. It’s a slightly messy project, no doubt, but the satisfaction of seeing those gleaming racks makes it entirely worth the effort. It’s definitely a cleaning method I’ll be adding to my regular deep-clean routine for 2026 and beyond, especially when my oven needs a serious refresh. If you’ve been on the fence about trying this hack, I encourage you to go for it – just remember to protect your tub!
Frequently Asked Questions
Is it safe to clean oven racks in the bathtub?
Yes, it is generally safe as long as you take precautions. Always protect your bathtub with old towels or a mat to prevent scratches, wear rubber gloves, and ensure good ventilation if using strong cleaning agents. Rinse the tub thoroughly afterwards.
How long should I soak oven racks in the bathtub?
For best results, I recommend soaking oven racks for at least 4-6 hours. If your racks are heavily soiled with baked-on grease, an overnight soak (8-12 hours) will make the scrubbing process significantly easier and more effective.
What’s the best cleaning solution for soaking oven racks in the tub?
I found a combination works best: fill the tub with hot water, add a good amount of heavy-duty dish soap or degreaser, a cup or two of white vinegar, and a generous sprinkle of baking soda directly onto the racks. This creates a powerful grease-dissolving solution.
Can I use steel wool to scrub oven racks after soaking?
No, I strongly advise against using steel wool. It can scratch the chrome finish on your oven racks, which can lead to rust. Always opt for a non-abrasive scrub brush, a heavy-duty sponge, or a plastic scraper to tackle any remaining grime.
How do I prevent my oven racks from rusting after cleaning?
To prevent rusting, ensure your oven racks are completely dry after cleaning. I recommend wiping them down with a clean, dry towel and then letting them air dry fully, or even placing them in a warm, recently turned-off oven for a few minutes to evaporate any residual moisture.
What if my bathtub gets stained or scratched during the process?
This is why tub protection is crucial! However, if a light stain occurs, try cleaning it with a paste of baking soda and vinegar or a non-abrasive bathroom cleaner. For scratches, unfortunately, prevention is key, as deep scratches can be difficult to repair without professional help. Always use old towels or a protective mat.